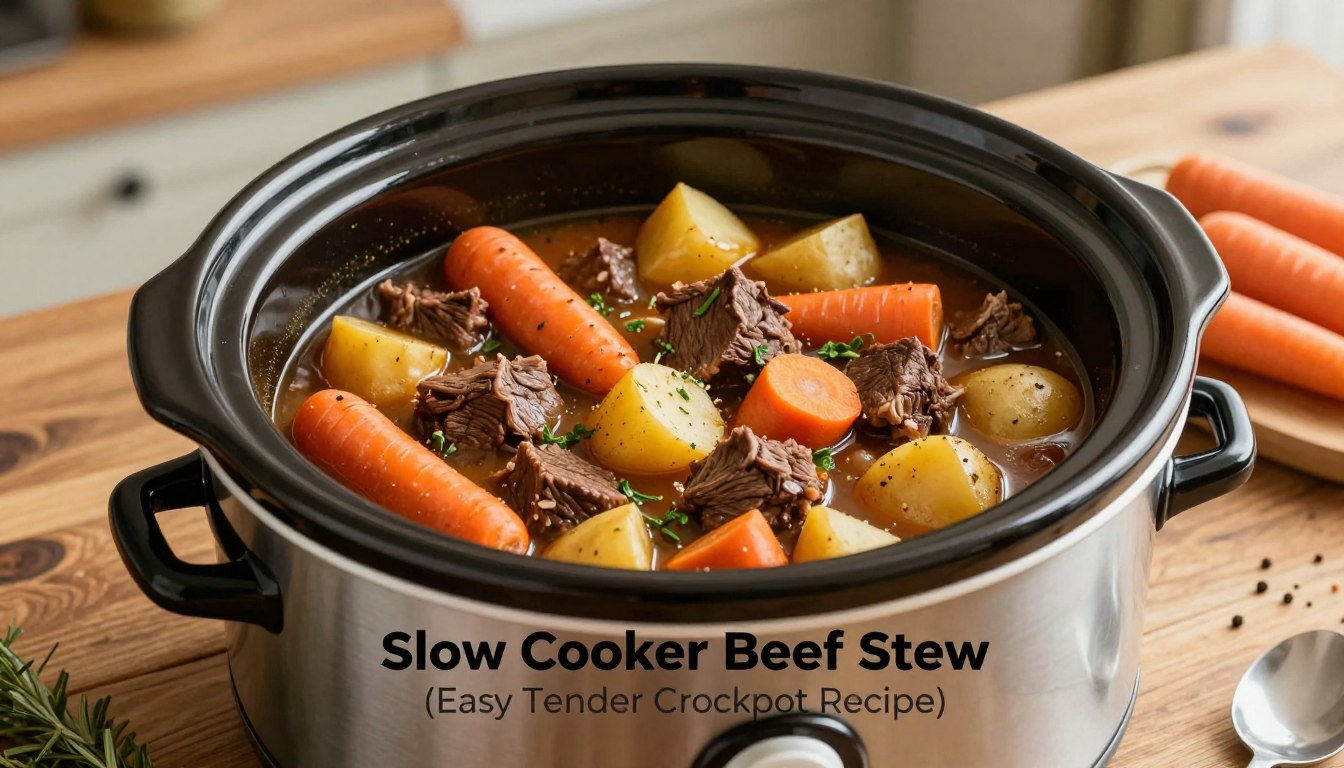
Slow Cooker Beef Stew (Easy Tender Crockpot Recipe)
How do you make the perfect slow cooker beef stew that is rich, tender, and full of flavor?
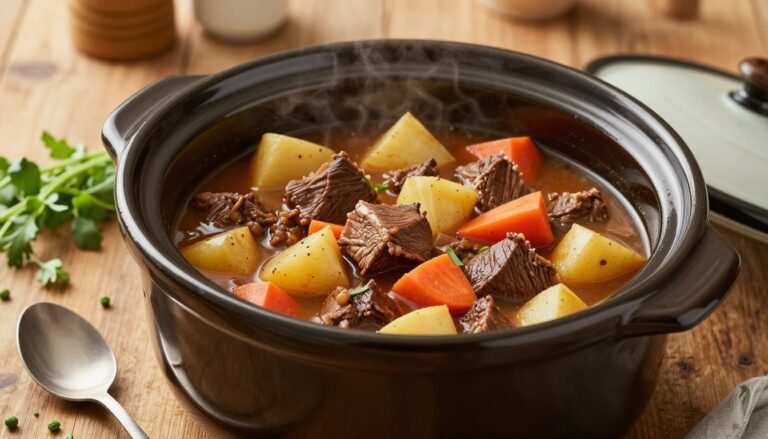
There’s nothing like the comfort of a hearty homemade stew simmering all day. This classic crockpot dish delivers fork-tender meat and rustic vegetables in a thick, savory broth.
Our easy recipe requires no complicated prep or browning steps. You simply add the ingredients to your pot and let time work its magic.
It’s designed for busy weeknights and relaxing Sunday dinners alike. You get restaurant-quality results with minimal effort.
The combination of potatoes, carrots, and aromatic seasonings creates a gravy-like consistency that clings to every spoonful. This meal is also freezer-friendly and perfect for leftovers.
You’ll learn exactly how to achieve fall-apart tender meat and perfectly cooked veggies every time.
Key Takeaways
- This hearty dish is perfect comfort food for busy families and beginners.
- The recipe eliminates unnecessary complexity for a true set-it-and-forget-it meal.
- You can achieve fork-tender meat without any pre-browning steps.
- The thick, savory broth and classic vegetables provide maximum comfort.
- It’s freezer-friendly and reheats beautifully, ideal for meal prep.
- You’ll learn how to get a rich, gravy-like consistency every time.
- This reliable recipe delivers consistent results for family dinners or weekly planning.
Table of Contents
Overview of This Hearty Recipe
Imagine a meal that warms you from the inside out with every savory spoonful. This classic comfort food recipe is a timeless favorite for good reason.
Introducing a Classic Comfort Food
It features tender chunks of meat, hearty root vegetables, and a rich, gravy-like broth. The aromatic blend that fills your home during cooking is part of the experience.
This dish delivers nutritional balance and deep satisfaction in one bowl. It’s the ideal meal for chilly evenings and family gatherings.
Why It’s Perfect for Beginners
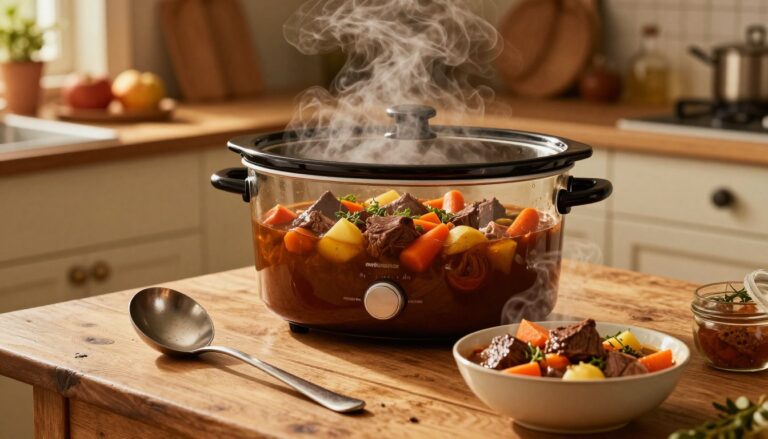
You don’t need advanced skills to master this crowd-pleasing meal. The method is famously forgiving, requiring only simple prep and a “set-it-and-forget-it” approach.
Your crockpot does the heavy lifting, melding flavors and achieving perfect tenderness. This makes restaurant-quality results accessible to anyone.
It’s also fantastic for meal prep, as the taste deepens overnight. You get a reliable, family-friendly dinner solution.
Essential Ingredients for a Delicious Stew
Your ingredient choices directly impact the final flavor and texture. Using high-quality, fresh components ensures a rich and satisfying result.

Key Proteins and Best Beef Cuts
You need about two pounds of well-marbled, tougher cuts. These transform into fork-tender pieces during the long cooking process.
| Cut | Best For | Notes |
|---|---|---|
| Chuck Roast | Superior flavor & texture | The gold standard; becomes incredibly tender. |
| Round Steak | Leaner option | Works well but has less marbling. |
| Brisket | Rich, beefy taste | Requires full cooking time to soften. |
Fresh Vegetables and Supporting Flavors
Your vegetables provide heartiness and nutrition. Aromatics and seasonings build deep, complex layers of taste.
- Carrots & Potatoes: Use 3-4 medium carrots and one pound of Yukon gold potatoes for the base.
- Aromatics: One diced onion and fresh garlic are essential for the foundational flavor.
- Liquid Base: Two and a half cups of low-sodium beef broth gives you control over saltiness.
- Thickening & Seasoning: Flour, Worcestershire sauce, tomato paste, thyme, and a bay leaf create the perfect gravy.
Step-by-Step Slow Cooker Preparation
The secret to a perfect result lies in careful preparation and strategic layering.
Following a clear sequence ensures your ingredients cook evenly and develop deep, savory flavors.

Prepping and Seasoning the Meat
Begin by placing two pounds of cubed beef in a medium bowl. Toss it with two tablespoons of flour, salt, and pepper.
This coating creates a flavorful crust. It also helps thicken the gravy later.
For a richer taste, sear the meat. Heat three tablespoons of oil in a large skillet over medium-high heat.
Work in batches. Brown all sides in the hot skillet. This step adds wonderful color.
Laying Ingredients in Your Slow Cooker
First, whisk your seasonings in the pot’s base. Add tomato paste and Worcestershire sauce.
Now, layer your vegetables. Place potatoes on the bottom. They need the most heat.
Next, add carrots and celery. Then, place the seared meat and diced onion on top.
Pour in your cups beef broth. Give everything a gentle stir to combine.
Guidelines for Accurate Measurements
Precise amounts are crucial for consistent, delicious results every time.
| Ingredient | Key Measurement Tip | Purpose |
|---|---|---|
| Cubed Beef | Use 2 pounds, cut into 1-inch pieces | Ensures even cooking to tenderness |
| All-Purpose Flour | 2 level tablespoons for coating | Creates crust & thickens sauce |
| Beef Broth | 2½ to 3 cups, low-sodium | Provides liquid base without excess salt |
| Root Vegetables | Cut carrots ½-inch, potatoes 1-inch | Promotes uniform doneness |
| Olive Oil | 3 tablespoons for searing | Prevents sticking and aids browning |
Remember, ingredients release moisture as they cook. Your final dish will have the ideal consistency.
Mastering Tender Beef Techniques
Transforming a tough cut into a succulent masterpiece is the core skill of this dish. The right approach guarantees protein that is incredibly soft and rich.
Your selection is the first critical step. Opt for well-marbled, economical cuts with plenty of connective tissue.
Tips for Using the Best Cuts
Chuck roast is the gold standard for a reason. Its marbling and collagen melt during the long process, creating bites that practically melt.
Pre-cut stew meat offers convenience. For even results, check the pieces and trim any that are too large.
Other excellent choices include brisket or round steak. These tougher fibers break down beautifully with the right method.
How to Achieve Fall-Apart Tender Meat
The magic happens with consistent, low heat. This gentle environment dissolves collagen without drying the protein out.
You’ll know it’s perfect when a fork pierces it easily. The pieces should pull apart with almost no effort.
If it’s still tough, simply add more cooking time in 30-minute increments. Different appliances and meat quality can vary.
Keep the lid firmly closed throughout. Every peek releases steam and heat, which can lead to a chewy texture.
Coating your chunks in flour before starting adds deep flavor and helps thicken the sauce. It also forms a protective layer that seals in moisture.
Cooking Times: Understanding LOW vs. HIGH
Selecting the right heat setting and duration transforms simple ingredients into a comforting classic. Your choice between LOW and HIGH determines both texture and flavor development.

Detailed Time Table for Your Hearty Meal
Use this guide to plan your meal. The LOW setting maintains a gentle heat, perfect for breaking down tough fibers.
| Setting | Time Range | Best For | Key Notes |
|---|---|---|---|
| LOW | 7-8 hours | Standard cooking | Ideal for maximum tenderness and flavor. |
| LOW | 8-10 hours | Extended schedule | Vegetables become very soft but still hold. |
| HIGH | 4-6 hours | Faster preparation | Monitor closely to prevent mushiness. |
Adjusting for Your Specific Cooker
All appliances vary based on age, model, and wattage. Your first attempt might need slight time adjustments.
Test for doneness near the minimum time. Pierce a piece of protein with a fork. If it doesn’t pull apart easily, continue cooking in 30-minute increments.
You can extend the time up to 10 hours on LOW if your day demands it. Using firmer potato varieties helps them hold up better.
Resist opening the lid during the first 6-7 hours. Each peek releases heat and steam, potentially adding 15-20 minutes to your total cook time.
How to Thicken Your Stew for Rich Flavor
Mastering the art of thickening ensures every spoonful is packed with flavor. A rich, gravy-like sauce makes your hearty meal deeply satisfying.
You create natural thickening by coating your meat in two tablespoons of flour before cooking. This starch releases gradually, enriching the broth.
The dish also thickens beautifully as it cools for 30-45 minutes. Starches and natural gelatin set into a perfect consistency.
Using Flour or Cornstarch Slurries
For more control, use a slurry in the final minutes. Whisk one tablespoon of cornstarch with two tablespoons of cold broth.
Stir this mix into your stew. Cover and cook on HIGH for 20-30 minutes. The sauce will become glossy and thick.
Flour slurries work similarly. Mix two to three tablespoons of flour with twice as much cold liquid. Whisk until smooth before adding.
Alternative Methods for a Perfect Consistency
You can also reduce liquid by removing the lid. Do this during the last 30-45 minutes on HIGH to evaporate excess broth.
If the sauce becomes too thick during cooking, add a small amount of broth or water and stir gently. Continue adding liquid in small amounts until the texture becomes smooth and balanced.
Remember, cornstarch gives a clear finish. Flour provides a more traditional, opaque gravy. Choose based on your preference.
Storing and Reheating for Maximum Flavor
Maximizing flavor from your homemade creation involves smart storage and gentle reheating. Your effort yields a meal that actually improves as it rests.
The rich taste deepens overnight when ingredients continue to meld together. This makes the recipe perfect for advance preparation.
Proper Freezing and Refrigeration Tips
Keep leftovers fresh in an airtight container. Refrigerate for three to four days maximum.
For longer storage, freeze your portions. Cool the dish completely at room temperature first.
Then transfer to freezer-safe bags or containers. Leave an inch of space for expansion.
| Method | Duration | Key Step | Best For |
|---|---|---|---|
| Refrigeration | 3-4 days | Seal in airtight container | Eating within the week |
| Freezing | 3-6 months | Cool completely before freezing | Meal prep & future dinners |
Best Practices for Reheating Your Stew
Gently warm refrigerated portions on the stovetop. Use low to medium-low heat and stir occasionally.
Add a splash of broth if the consistency becomes too thick during storage. For single servings, the microwave works well.
Heat in two-minute intervals, stirring between each. Always cover the bowl loosely.
Avoid reheating the entire batch multiple times. Portion out only what you’ll eat to maintain texture and safety.
The beef stays wonderfully tender through this process. Potatoes may soften slightly after freezing, but flavor remains exceptional.
Beginner’s Tips and Troubleshooting Advice
Even the most straightforward recipes can present small challenges for new cooks. Knowing how to solve them builds confidence and guarantees a delicious result every time.
Common Pitfalls and How to Avoid Them
You might wonder if browning your meat is necessary. While you can skip this step, it adds wonderful color and deep flavor to your final dish.
A common mistake is opening the lid too often. Each peek releases heat and steam, extending your cooking time and potentially making the protein tough.
If your vegetables turn mushy, you likely cooked them too long. Cut potatoes into 1-inch chunks and carrots into ½-inch rounds for the best texture.
Watery gravy often means too much liquid or not enough thickening. Remember, vegetables release water as they cook. Start with 2½ cups of low-sodium broth.
For a thin sauce, mix one teaspoon of cornstarch with two tablespoons of cold broth. Stir it in during the last 30 minutes.
Is your beef still tough? Don’t worry. Different cooker models vary. Just continue cooking in 30-minute increments until it’s fork-tender.
A bland taste usually needs more seasoning. Always use beef broth instead of water for a richer base. Taste and adjust salt and pepper at the end.
You can use frozen peas or corn. Add them in the last hour to prevent sogginess.
Missing an onion, garlic, or celery? The dish is forgiving. Use a teaspoon of garlic powder or skip the celery. Your meal will still be hearty and satisfying.
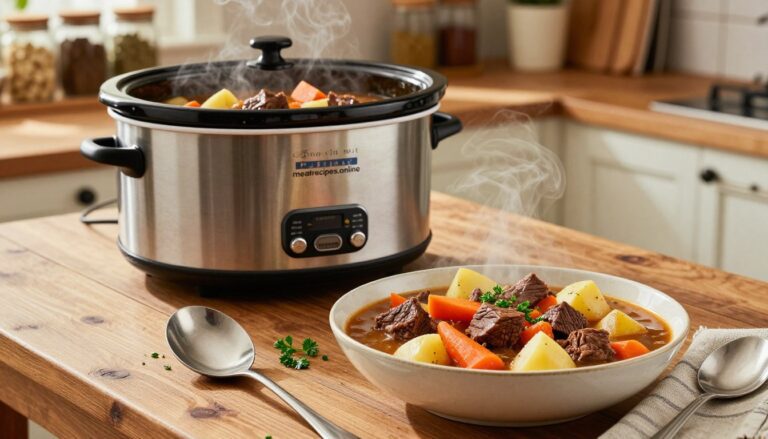
Serving Suggestions
This hearty comfort dish pairs perfectly with crusty bread, steamed rice, or creamy mashed potatoes. The rich gravy and tender vegetables make it a satisfying meal for cold evenings and family dinners.
You can also garnish the dish with fresh parsley or thyme for added aroma and color. A simple green salad or roasted vegetables work well as a side to balance the rich flavors of this slow cooked meal.
Many home cooks enjoy preparing this comforting recipe ahead of time because the flavors continue to develop overnight, making leftovers even more delicious the next day.
Conclusion
You’ve just discovered the ultimate path to effortless, satisfying meals. This slow cooker beef stew recipe delivers everything comfort food should be. It’s hearty, flavorful, and remarkably simple to prepare.
You can master this dish whether you’re a beginner or experienced cook. The method is forgiving and versatile. It works perfectly for weekend dinners or weekly meal preparation.
You get excellent nutritional balance with quality protein, fresh vegetables, and reasonable levels of fat, sugar, and sodium. The satisfaction of serving a homemade meal that brings everyone together is truly special.
Keep this reliable recipe in your collection. It will become your go-to solution for comforting family dinners time after time.