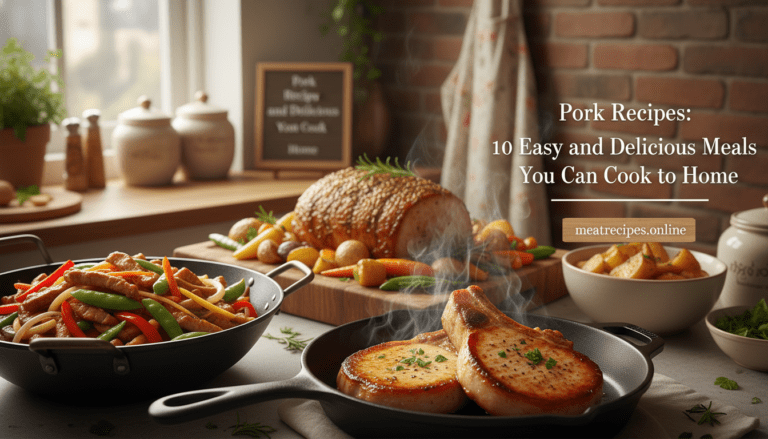
How to Cook Moist Pork Chops
How to cook moist pork chops is a question many home cooks ask when trying to turn a dry meal into a family favorite. This guide answers that question with clear, reliable steps you can trust.
Author Joanne Gallagher calls this recipe a go-to for tender results. You will learn a fuss-free approach that focuses on technique rather than complicated ingredients.
The method works with boneless or bone-in cuts and aims for juicy pork chops every time. You will swap guesswork for a repeatable routine that fits weeknight dinner plans.
Whether you are new in the kitchen or refining basic skills, this recipe shows how to avoid dry, flavorless meat. Follow the steps and you will build confidence and consistent results.
Key Takeaways
- Joanne Gallagher’s method prioritizes technique for tender results.
- Suitable for both boneless and bone-in cuts.
- Designed as a simple, fuss-free recipe for weeknight dinner.
- Focus on timing and heat to produce juicy pork chops.
- Clear steps help you repeat restaurant-quality results at home.
Table of Contents
Understanding the Basics of Pork Chops
Selecting the proper chop will greatly affect both flavor and texture. Start by thinking about cut and thickness. Small choices at the counter make a big difference for your dinner.
Choosing the Right Cut
Opt for a rib or center-cut for consistent meat and fat balance. A bone-in pork option often keeps more flavor and moisture during cooking.
“Kristen Stevens recommends using chops that are at least 1 inch thick for the best results.”
Thickness Matters
Kristen’s tip about an inch thick cut matters. Thinner pieces cook fast and can dry out. Uniform size is key for even timing and a dependable result.
- Choose center-cut or rib for steady thickness.
- Pick bone-in pork chops when you want extra flavor.
- Adjust timing if you buy thin slices.
| Cut | Best Use | Note |
|---|---|---|
| Rib | Pan-sear or oven | Good marbling, even cook |
| Center-cut | Grill or roast | Uniform thickness |
| Thin slice (<1 inch) | Quick sear | Reduce cooking time |
Essential Preparation for Juicy Results
A brief prep routine removes the guesswork and protects flavor and texture. Proper preparation sets up every great recipe and saves you time at the stove.
Bringing Meat to Room Temperature
Gayle McLeod—who provided the photography for this guide—stresses that careful prep makes a big difference in texture.
Take your pieces out of the fridge about 15 to 20 minutes before you start. Letting the meat sit this short span prevents uneven cooking and cold centers.
Salt your cuts at least 30 minutes before you begin. That rest time gives the salt a chance to penetrate, improving both flavor and texture.
- Bring the meat to room temperature for 15–20 minutes.
- Season with salt at least 30 minutes prior.
- After cooking, always let the chops rest for 5 minutes so juices redistribute.
Follow these steps and your simple pork recipe will feel more professional. The small time investments pay off in tenderness and consistent results.
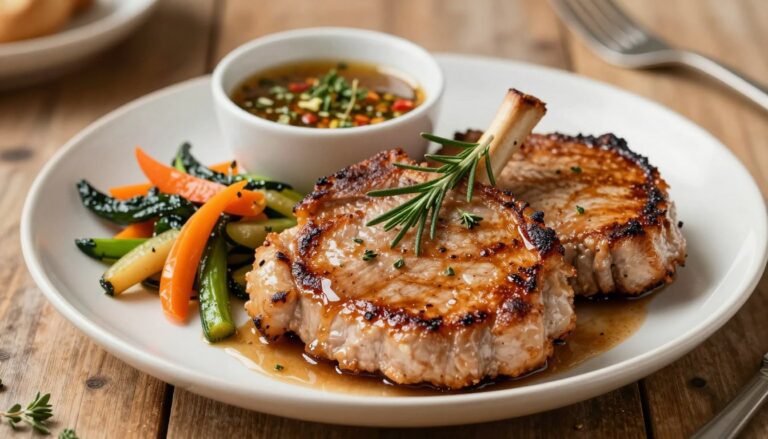
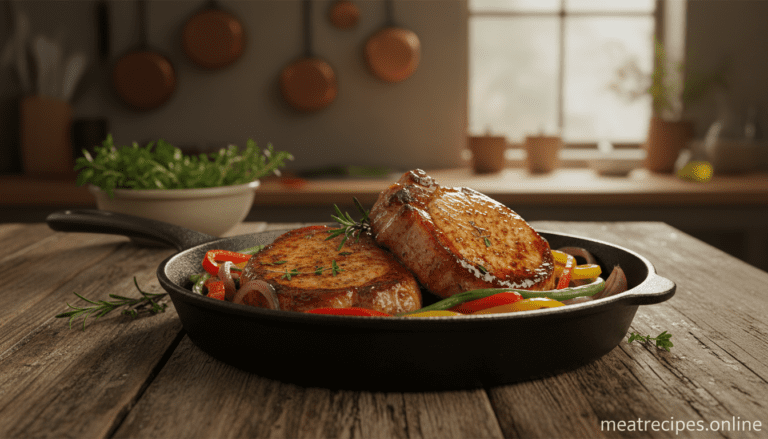
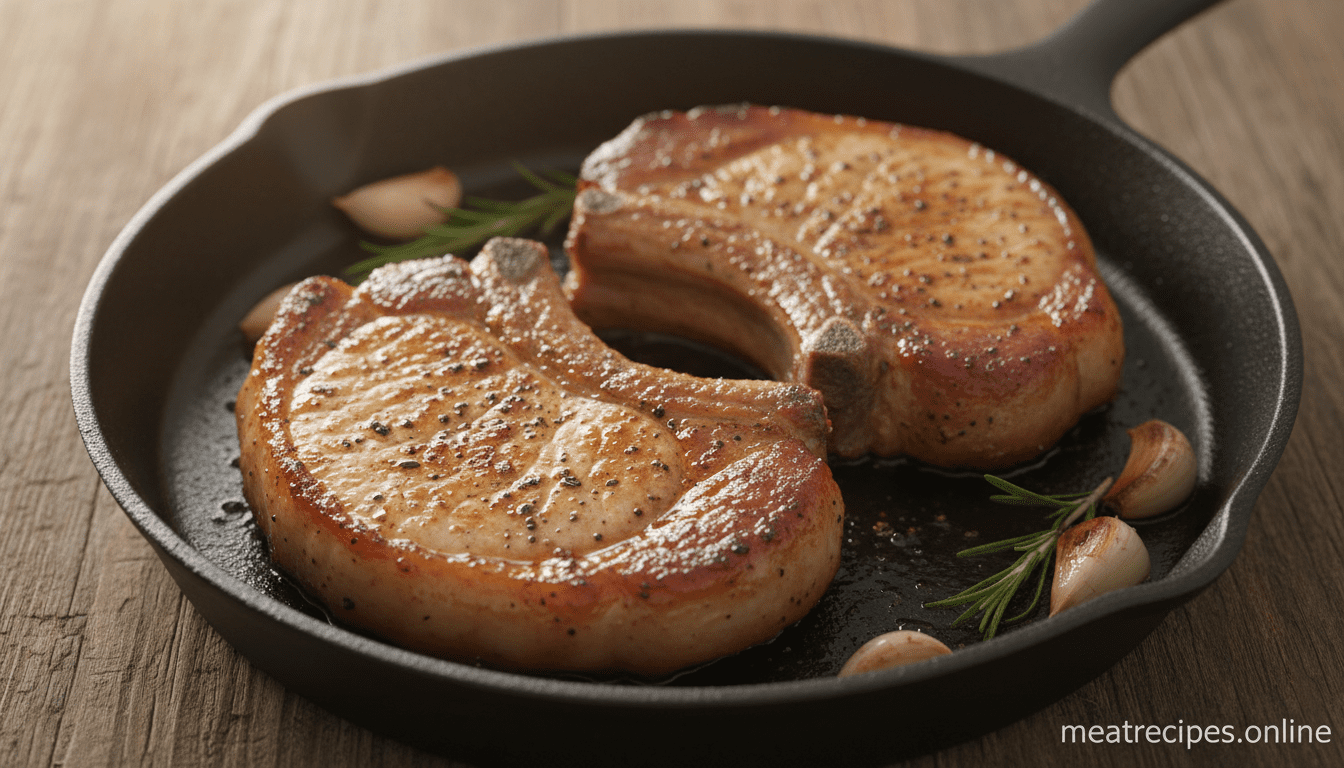
How to Cook Moist Pork Chops on the Stovetop
A hot pan and a quick sear create the flavorful crust that locks in juices. Sear one side of each pork chop in a heavy skillet over medium-high heat until a deep golden color forms.
After flipping, drop the heat to low and cover the pan. Trapping steam finishes the interior and keeps the meat tender.
Monitor the cooking time closely. A tight lid and low heat usually finish the chop in a few minutes per side, depending on thickness.
“Searing, then steaming in the same skillet, is the trick many chefs use for quick, juicy pork.”
- Use a heavy-duty skillet for steady heat and a consistent sear.
- Watch the minutes; steam finishes fast and prevents overcooking.
- This stovetop recipe is ideal when you want dinner ready without the oven.
| Step | Action | Typical Minutes |
|---|---|---|
| Sear | High heat in a hot skillet, one side until brown | 2–3 minutes |
| Flip & Cover | Reduce heat, cover to trap steam | 3–6 minutes |
| Rest | Remove from pan and rest before serving | 3–5 minutes |
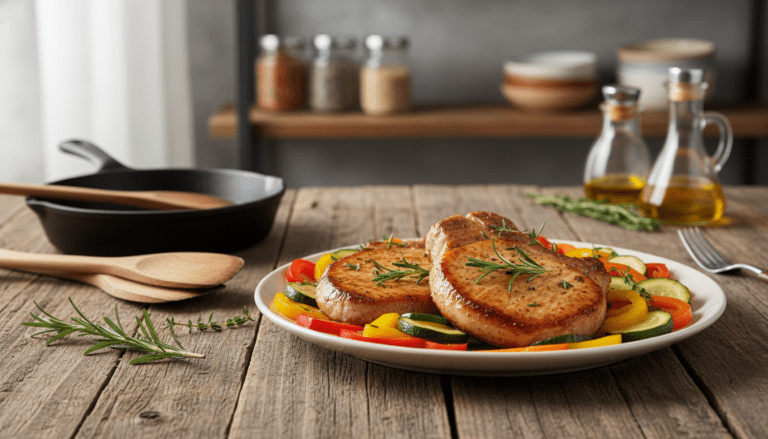
Mastering the Oven Baked Method
Using the oven brings control over temperature and timing for reliable, juicy results.
Setting the Correct Temperature
Set the oven to 400°F. For boneless cuts, bake about 7 minutes per 1/2 inch of thickness. For bone-in pork chops, plan on 8 minutes per 1/2 inch.
Measure thickness so your cooking minutes match the cut. Let the meat rest for a few rest minutes after baking before serving.
Using the Broiler for Caramelization
For a browned finish, switch on the broiler for the final few minutes. Keep the pan or skillet under close watch; broiling adds color fast.

| Cut Type | Oven Temp | Bake Time per 1/2 inch | Best Vessel |
|---|---|---|---|
| Boneless | 400°F | 7 minutes | Cast-iron skillet or snug ovenproof dish |
| Bone-in pork chops | 400°F | 8 minutes | Oven-safe dish that fits the meat |
| Finish | Broiler (last few minutes) | 2–3 minutes for caramelization | Skillet or dish under broiler |
Tip: Use a cast-iron or iron skillet for even heat. A snug dish keeps juices from evaporating during baking and yields juicier pork.
The Importance of Internal Temperature
The true judge of doneness is the number on an instant-read thermometer. The USDA and culinary pros agree: aim for an internal temperature of 145°F. That target keeps the protein safe while holding the maximum natural juices.
Overcooking is the main reason meat dries out. Pork is a lean protein, so even a few extra minutes of heat can rob the chop of moisture.
Use an instant-read thermometer as your guide. Insert it into the thickest part of each chop for an accurate reading. Check every piece if sizes vary; they may finish at different times.
- Set a target: 145°F for safe, tender results.
- Measure each chop: test the thickest spot, not near bone or fat.
- Trust the tool: thermometer readings beat timing guesses every time.
“A quick temperature check prevents the common mistake of overcooking dinner.”
Following this simple step is the most important part of any recipe. It keeps your pork chops juicy and your meal reliable.
You can check safe cooking temperatures on the USDA website to ensure your pork chops are perfectly cooked and safe to eat.
Creating Flavorful Spice Rubs and Marinades
A smart seasoning mix gives the meat a bright, savory character before it meets heat.
Start with a simple dry rub: combine paprika, garlic powder, onion powder, and black pepper in a small bowl. Add kosher salt so the seasoning brings out natural flavor without overwhelming the cut.
For a crisper crust, mix your spices with a tablespoon of flour. That bit of flour browns under high heat and creates a satisfying sear.

If you want caramelized edges, stir in a touch of coconut sugar or brown sugar. Sugar helps the surface brown quickly under the broiler or a hot pan.
“Always mix your rub thoroughly in a bowl before applying it to the meat.”
- Rub the seasoning firmly into each piece so every bite carries even flavor.
- Adjust the blend with oregano or thyme for a herby note.
- Use olive oil sparingly if you plan to marinate; it helps the spices cling.
Preparing Simple Pan Sauces
A fast reduction in the same pan pulls all the flavor from the sear into a glossy sauce.
Deglazing the Skillet
After you lift the pork chops from the skillet, let the fond cool for a few seconds. Then pour in chicken stock and a splash of apple cider vinegar. The hot liquid loosens those browned bits and starts the sauce.
Reduce the mixture until it shrinks by about half. That concentrates the flavor and thins any fat for a clean finish.
- Lift the fond: Add stock and apple cider vinegar to the hot pan and scrape with a wooden spoon.
- Balance acidity: Stir in a bit of honey or brown sugar if the vinegar tastes sharp.
- Finish rich: Whisk a tablespoon of butter into the sauce at the end for a glossy texture.
- Brighten: Toss in chopped fresh parsley just before serving for a fresh contrast.
Tip: Use a small bowl to whisk any extra seasoning, like garlic powder or a teaspoon of pepper, before adding it to the pan. This keeps the sauce smooth and well blended.
“Deglazing with stock and vinegar ensures no flavor is left behind in the skillet.”
Serving Suggestions and Side Dishes
Choose sides that contrast a rich chop with fresh, crisp elements. A few classic companions balance texture and highlight seasoning.

For a complete plate, serve your pork with creamy mashed potatoes, roasted asparagus, or a crunchy coleslaw. A simple green salad also works well when you want a lighter side.
Leftovers keep nicely. Store cooked pork in an airtight container in the fridge for 3 to 4 days. You can freeze portions for up to 3 months when meal-prep is helpful.
When reheating, warm the meat in the oven at 300°F with a splash of broth. This step preserves juices and keeps the protein tender. Using a cast-iron skillet or a snug baking dish helps the pan juices add more flavor to each serving.
- Serve sliced pork over a salad for a quick lunch.
- Let the meat rest for 5 rest minutes before slicing so the juices stay inside.
- Finish with a drizzle of olive oil and a grind of pepper and garlic for extra flavor.
“Simple sides let the seasoning and pan juices shine.”
Conclusion
Mastering a few steady techniques will raise every weeknight meal into a reliable favorite.
Focus on thickness, internal temperature, and resting time and you will get tender results more often. Use the stovetop sear when you want a quick finish, or the oven for steady control. Both paths work well.
Experiment with spice rubs and pan sauces to keep dinners fresh. These simple steps turn basic ingredients into memorable recipes your family will request again.
With practice, you will gain confidence and enjoy a versatile protein that fits many plates and menus.
If you’re looking for more flavor ideas, check out this taco meat recipe for a rich and perfectly seasoned filling.
FAQ
What cut should you pick for juicy, flavorful pork?
Why does thickness matter for final results?
Should you bring meat to room temperature before cooking?
What’s the simplest stovetop method for moist results?
How do you bake chops in the oven without drying them out?
When should you use the broiler for extra color?
What internal temperature ensures safety and juiciness?
What seasonings and rubs work best?
How do you make a quick pan sauce after searing?
What sides pair well with a chop dinner?
How long should chops rest before serving?
Can you use a thermometer with bone-in meat accurately?
What pan works best for searing and finishing?
Is olive oil or butter better for frying chops?
How do you prevent dried-out edges on thicker chops?
Are bone-in chops always juicier than boneless?
⭐ Love This Recipe? Tell Us What You Think!
There are no reviews yet. Be the first one to write one.