Boneless Pork Chops Recipe: Easy, Juicy and Flavorful in 30 Minutes
Boneless pork chops are the secret to a juicy dinner in just 30 minutes—but do you know the best way to cook them without drying them out? This quick recipe proves that you can say goodbye to dry pork with a fast skillet sear and a short covered finish.
You’ll learn a simple method that uses oil, garlic, salt, pepper, and a quick spice rub to build big flavor without long prep. Follow a skillet sear, cover to trap moisture, and finish when the internal temperature hits 145°F, then rest a few minutes for perfect carryover cooking.
This guide sets clear expectations: a 30-minute dinner from prep to plate depending on thickness, an optional pan sauce for extra flavor, and oven-baked variations if you prefer. You’ll also get storage, reheating tips, and a handy FAQ so you can repeat this easy weeknight win with confidence.
Key Takeaways
- You can make a juicy meal in about 30 minutes using a hot skillet and a covered finish.
- Target 145°F and let the meat rest to lock in juices.
- A simple rub of oil, garlic, salt, and pepper builds big flavor fast.
- Optional pan sauce and oven method add flexibility for different nights.
- This recipe works for busy weeknights and avoids long marinating times.
Table of Contents
Why Boneless Pork Chops Are a Weeknight Favorite
Weeknight cooks love tender, fast cuts that fit into busy schedules without fuss. This cut is lean, widely available, and typically ready in the same pan you use for sides.
Lean protein matters when dinner must be quick. Low fat content helps the meat cook fast, but it also means you must avoid overcooking to keep it tender.
Bone-in pork chops can add a touch more flavor and may need a minute or two more cooking time. Still, boneless works great for predictable, even sears—especially when pieces are uniform.
Quick tips for smart shopping and cooking
- Pick evenly cut pieces so your cooking time stays predictable for the whole family.
- Use a two-stage method: sear on high, then lower heat and cover to finish gently.
- Always rest meat for a few minutes—this step locks in juices and improves leftovers.
| Cut | Cook Speed | Flavor/Tip |
|---|---|---|
| Boneless | Fast, even | Great for quick sears; slice evenly for consistent results |
| Bone-in | Slightly longer | Bone adds flavor and slows heat; add 1–2 minutes if needed |
| General tip | Depends on thickness | Target 145°F and rest to avoid dry, tough meat |
Ingredients You Need for Juicy, Flavorful Pork Chops
Start with a short pantry list that gives you a golden sear and bold flavor in under 30 minutes. Below are the essentials and a few smart add-ins that help every piece brown and stay juicy.

Core ingredients
- Meat: 2–4 evenly cut pieces (about 1 inch thick).
- Olive oil or a high-heat neutral oil—1–2 tablespoons to sear and prevent sticking.
- Garlic (2 cloves minced) or 1/2 teaspoon garlic powder depending on use.
- Salt and pepper to taste; start light and adjust after resting.
Pantry spice rub
Mix common powders for a smoky, savory rub: about 1 teaspoon each of chili powder, garlic powder, and onion powder plus 1/2 teaspoon smoked paprika and a good pinch of black pepper.
Optional add-ins that boost browning
- About 1 tablespoon flour mixed with the spices to form a light coating—this improves crust and color.
- A pinch of sugar or brown sugar for extra caramelization, used sparingly.
- Fresh garlic for pan sauce; use garlic powder when you only need surface seasoning.
Tip: Keep measurements flexible—use a teaspoon as your guide and scale up for more pieces. Every ingredient ties back to one goal: more surface flavor, better texture, and reliable results when time is short.
Best Seasonings for Pork Chops (Rubs, Pantry Staples, and Flavor Profiles)
With a few pantry staples, you can build rubs that add color, crust, and real depth in minutes.
Start with a classic savory blend: mix 1 teaspoon garlic powder, 1 teaspoon onion powder, 1 teaspoon paprika, and 1/2 teaspoon black pepper. Garlic powder and onion powder add savory depth while paprika gives color and mild sweetness.

For a sweet-and-smoky oven rub, combine 1 tablespoon brown sugar, 1 teaspoon smoked paprika, 1/2 teaspoon ground mustard, and 1 teaspoon onion powder. The sugar helps caramelize the surface under high heat for an irresistible crust.
If you want heat, add chili powder and a pinch of red pepper flakes. Use chili powder for smoky warmth and red flakes when you want a sharper kick.
“Salt improves texture when applied ahead, but if you salt in advance use a salt-free rub to avoid over-salting.”
Salting strategy: either salt ahead and use a salt-free rub, or season everything just before cooking. Both work; salting early improves texture, while last-minute seasoning keeps control of final taste.
| Profile | Key spices | Best method |
|---|---|---|
| Classic savory | garlic powder, onion powder, paprika, pepper | Skillet or oven |
| Sweet-smoky | brown sugar, smoked paprika, mustard, garlic powder | Oven for caramelization |
| Spicy upgrade | chili powder, red pepper flakes | Skillet for quick heat |
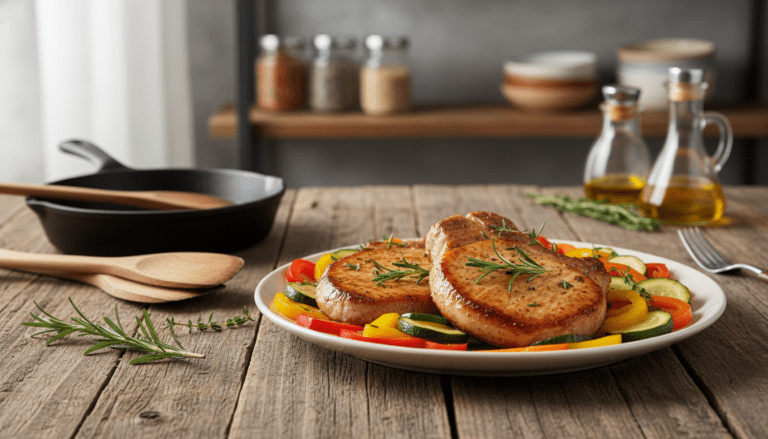
Prep Tips That Keep Boneless Pork Chops Tender
A few timing and seasoning moves before you heat the pan make a big difference in tenderness. These small steps take little time but yield moister, more flavorful results.
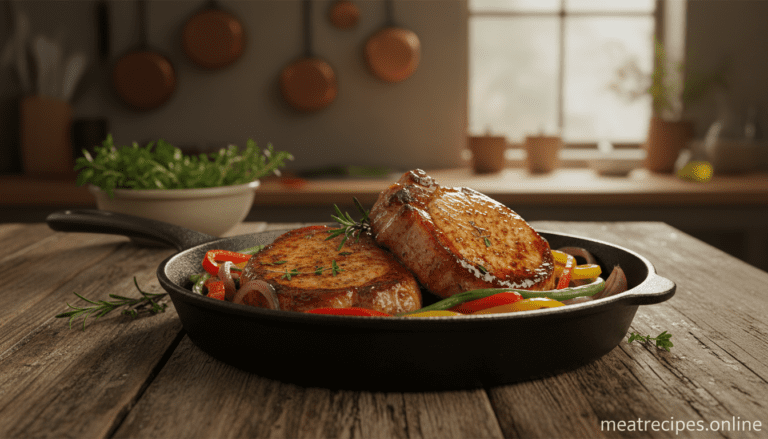
. The background reveals a warm, inviting kitchen with soft, natural lighting streaming through a window, highlighting the freshness of the ingredients. The overall mood is cozy and homey, perfect for a comforting pork chop dinner. The brand name \"meatrecipes.online\" subtly integrated into the scene.")
Choose thickness: pick pieces at least 1 inch thick. A thicker cut is more forgiving and stays juicy when seared.
Bring to room temperature: pull the meat from the refrigerator about 30 minutes before cooking. This reduces cooking shock and helps even doneness.
Salt ahead: season with salt roughly 30 minutes before you cook. Salting early improves texture and pulls flavor deeper than last-minute seasoning.
Light coating for a better crust
Mix your spice blend with about 1 tablespoon of flour for a thin coating. You’re not breading—just a light dusting to boost browning and surface flavor.
- Pat pieces dry before seasoning.
- Keep spices in a small bowl for quick use.
- Don’t overcrowd the pan; sear in batches if needed.
These prep steps are small efforts with a big payoff—follow them and avoid dry results tonight.
Cooking Time and Prep Time (What to Expect Tonight)
A simple time plan keeps tonight’s dinner ready in about 30 minutes without guesswork.
Quick timeline for a 30-minute dinner
Prep: 8–10 minutes to pat dry, season, and heat the pan.
Cook: 12–15 minutes for a 1-inch piece—sear both sides, then lower heat and cover until almost done.
Rest minutes: 5 minutes under tented foil so carryover raises the final temperature.
How thickness changes cook time and why a thermometer matters
Thicker pieces need more sear-to-finish time. Never rely on a single minutes-per-side rule for mixed sizes.
Use an instant-read thermometer to check internal temperature for each piece. It removes guesswork when packages vary.
Target internal temperature and carryover cooking to 145°F
Temperature plan: pull at about 140°F, tent with foil, and let rest so carryover reaches 145°F safely.
Let rest so juices redistribute; skipping this wastes moisture and yields drier slices. While the chops rest, finish a quick sauce or plate sides to keep dinner on time.
| Step | Minutes | Notes |
|---|---|---|
| Prep | 8–10 | Dry, season, bring to room temperature |
| Cook (1″ thick) | 12–15 | Sear high, lower heat and cover to finish |
| Rest | 5 | Pull at ~140°F; carryover to 145°F while tented |
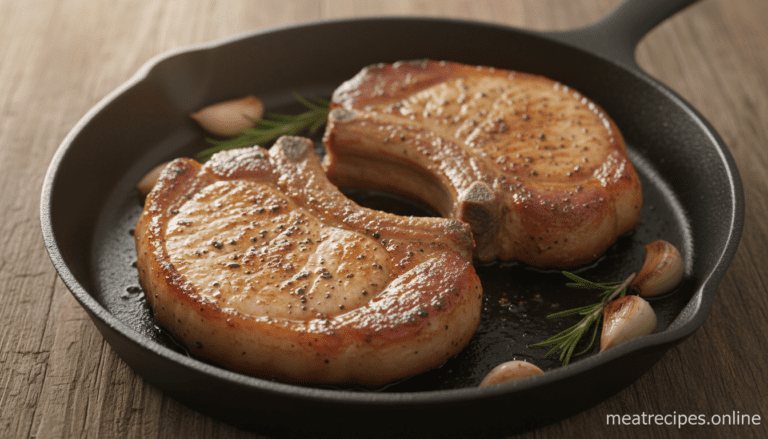
Step-by-Step: How to Cook Boneless Pork Chops in a Skillet
Follow this clear, timed routine to get juicy results every time. Season both sides with salt, pepper, garlic, and your spice rub. Let the pieces sit a few minutes while you preheat a heavy skillet over medium-high heat.
Season and preheat the pan for a better sear
Coat the pan with a thin layer of oil so the surface heats evenly. You want the pan hot enough to brown on contact—this step locks flavor and creates a crust.
Sear, flip, then cover on low heat to trap moisture
Sear each side 2–3 minutes until golden, then flip once. Reduce the heat to low and cover the pan; the trapped steam finishes cooking without drying the center.
Check temperature individually if pieces differ
Use an instant-read thermometer and probe the thickest part. Pull each piece as it reaches the target temperature; sizes cook at different rates.
Let rest minutes under foil so juices redistribute
Transfer to a plate and loosely tent with foil for about 5 minutes. Let rest minutes so juices settle—slicing too soon leaks moisture and dries the meat.
Optional quick pan sauce
After removing the chops, deglaze the pan with 1/2 cup chicken stock, 1 tablespoon apple cider vinegar, and 1 teaspoon honey. Simmer to reduce, then swirl in 1 tablespoon butter off the heat. Finish with chopped parsley and spoon over the chops.
“A hot sear, a low covered finish, and a short rest are the simplest moves that protect tenderness.”
Easy Variations You Can Make Any Night
Pick a method that fits your evening: quick skillet sears when time is tight, or an oven approach when you want hands-off cooking. Each variation uses the same basic seasoning and a brief rest to lock in juices.
Pan-seared with a quick pan sauce
Sear two to three minutes per side for a golden crust. Remove the meat, deglaze the pan with 1/2 cup stock and 1 tablespoon vinegar, simmer to reduce, then swirl in cold butter for shine. Spoon the pan sauce over each piece and serve.
High-heat oven method for fast caramelization
Preheat the oven to 425°F. Line a sheet with foil, season, and bake 15–20 minutes. Pull at 140°F, tent to reach final temperature, and broil 1–2 minutes if you want extra color.
Garlic-butter finish for restaurant-style flavor
After searing, add a knob of butter and minced garlic to the pan and baste briefly. The butter melts into a glossy, rich coating that pairs well with roasted potatoes or a green side.
Sweet-and-savory honey-soy glaze
Marinate with soy, honey, and minced garlic for 2 hours or overnight. Bake at 350°F to 140°F, then simmer the marinade 3 minutes to make a sticky sauce. Serve over rice for an easy, crowd-pleasing side.
“Small technique changes let you make this recipe fit any night of the week.”
Storage, Freezing, and Reheating Without Drying Them Out
Treat your cooked pieces right after dinner and they’ll reheat like fresh in minutes. Cool the meat slightly, then seal it airtight so juices stay put. Store cooked portions in the refrigerator in an airtight container for up to 4 days.
Refrigerator storage tips for cooked pieces
Let the slices rest and cool for a few minutes before packing. Seal tightly and label with the date. This keeps flavor and prevents odors from spreading.
How to freeze marinated pieces in a freezer bag
For make-ahead meals, add seasoned pieces and marinade to a gallon-size freezer bag. Squeeze out air, label, and freeze flat so they thaw faster. Thaw in the fridge for about 24 hours before cooking.
Thawing safely and reheating gently to protect moisture
Thaw only in the refrigerator so texture stays firm and cooks evenly. When reheating, warm slowly: use a low oven (about 275°F) with a splash of stock or a covered skillet on low. Heat just until warm to the center—you’re restoring warmth, not re-cooking.
“Pull as soon as the center is hot; overcooking is the fastest way to dry meat.”
Tip: Slice leftovers and serve with pan sauce or broth to add moisture, and let rest a minute after reheating so juices redistribute.
Conclusion
In short, this recipe works because you control heat, use an instant-read thermometer, and let rest before slicing.
Remove the meat at about 140°F, tent for 5–10 minutes, and expect carryover to reach 145°F. The skillet sear + covered finish is the fastest way to lock juice. For oven fans, bake at 425°F for 15–20 minutes and skip flipping; broil 1–2 minutes for extra color if you like.
FAQ quick hits: use at least 1″ thickness for juicier results, thin pieces cook faster and dry out, and bone-in pieces take a little longer. Try swapping seasonings, adding a pan sauce, or prepping freezer bags for another night.
Make it tonight—follow the steps, check temperature, and rest minutes for a repeatable weeknight win.
If you enjoy quick and crispy meals, you should also try this delicious fried chicken wings recipe for another easy weeknight dinner idea.
FAQ
How long should you let pork chops rest after cooking?
What internal temperature should you aim for when cooking pork?
How does chop thickness affect cooking time?
Can you cook chops straight from the refrigerator?
Should you salt chops ahead of time?
What oil and seasonings work best for a quick sear?
How do you prevent the meat from drying out when reheating?
Can you finish thicker chops in the oven after searing?
What’s an easy pan sauce to make after cooking?
How do you store cooked chops to keep them tender?
Are there quick oven methods for a fast weeknight meal?
What difference does a light flour-and-spice coating make?
⭐ Love This Recipe? Tell Us What You Think!
There are no reviews yet. Be the first one to write one.