How to Get Tender Chicken Breast in a Slow Cooker (Pro Tips)
Slow cooker and chicken breast recipes are one of the easiest ways to prepare tender, juicy chicken without constant monitoring. If you’ve ever pulled dry or overcooked chicken from your slow cooker, this guide will show you exactly how to get perfect results every time.
Cooking chicken breast in a slow cooker is simple when you understand timing, temperature, and moisture balance.
You’ll learn a simple method that focuses on timing, enough liquid, and a clear temperature goal: cook only until a meat thermometer reads 165°F in the thickest part.
Cook time can vary. Some crockpots finish earlier than the dial suggests, so checking early prevents dry meat. Use a basic thermometer and tongs to handle the pieces gently.
This intro previews the pro tips: easy seasoning, smart layering, avoiding lid lifts, and resting before slicing so juices stay put. You’ll also get exact LOW and HIGH time ranges, what changes timing, and a step-by-step method you can use for many recipes.
Plus, you’ll see quick flavor swaps—from creamy Tuscan-style sauce to shredded options for meal prep—so dinner feels fresh without fuss. No fancy skills needed: follow the steps and check temperature, not the clock.
Key Takeaways
- Aim for 165°F in the thickest part for safe, tender results. According to the USDA safe cooking guidelines, poultry should always reach an internal temperature of 165°F to be safe to eat.
- Timing varies by appliance, so check early to avoid dryness.
- Use simple seasoning, layer ingredients, and don’t lift the lid.
- Rest the meat before slicing to keep juices locked in.
- Tools like a meat thermometer and tongs make the job easier.
- Recipes include low/high cook ranges and easy flavor variations.
Table of Contents
Why chicken breasts dry out in the slow cooker (and how you stop it)
Most dryness comes from leaving lean cuts in heat too long or without enough liquid.
Lean meat + long hours: what’s really happening
White meat is high in protein and low in fat. That makes it healthy but also prone to losing moisture fast.
If the meat sits at heat for too many hours without enough sauce or broth, the muscle fibers tighten and squeeze juices out. The result is dry, stringy slices.
The tenderness sweet spot and why 165°F matters
The tender point is a precise target: 165°F. Once the thickest part hits that temp, the meat is safe and stops being tender if left longer.
Cook longer “to be safe” often backfires. Use a thermometer and check early — many recipes finish around 2–4 hours on LOW depending on your appliance.
When thighs make more sense than breasts
Dark meat like thighs has more fat, so it tolerates extra time and stays forgiving if you can’t watch it closely.
Different chicken slow cooker models run differently, so check earlier the first time. This information helps you stop dryness with timing, enough liquid, and a quick temp check — not longer cooking.
What you need for tender slow cooker chicken breasts
Start by choosing evenly sized cuts and a few pantry staples for reliable tenderness. A small, focused list keeps prep quick and predictable. Use a thermometer as your safety and texture guide—165°F is the goal.

Best picks at the store
Look for boneless, skinless chicken breasts that are close in size so they cook evenly. Very large pieces often need extra time.
If one piece is much thicker, place it near the pot edge where heat is higher or cook it separately for even results.
Simple flavor builders
Keep a base seasoning you use often: salt, pepper, garlic powder, and paprika for color and mild smoke.
Liquid keeps meat juicy. Use broth or chicken broth, or choose a sauce: tomato-based, creamy, or a simple gravy-style finish.
Optional “marry me” base: tomato sauce, garlic, thyme or Italian seasoning, with cornstarch mixed in a small bowl and a splash of heavy cream to finish if you want richness.
Helpful tools you’ll actually use
- Slow cooker — hands-off heat that frees your time.
- Tongs — lift pieces gently without shredding them.
- Meat thermometer — prevents overcooking; check for 165°F in the thickest part.
- Small bowl — mix cornstarch with water or broth to thicken sauces smoothly.
| Item | Why it matters | Quick tip |
|---|---|---|
| Boneless, skinless chicken breasts | Even pieces cook at the same rate | Choose similar sizes; move thick pieces to pot edge |
| Basic seasoning | Adds reliable flavor with little effort | Salt, pepper, garlic powder, paprika |
| Liquid (broth or sauce) | Keeps meat moist and builds sauce | Use chicken broth or tomato/cream bases |
| Thermometer & tongs | Protects texture and helps handle meat | Check temp to 165°F; lift gently with tongs |
Slow cooker and chicken breast cooking method (step-by-step)
A simple routine keeps lean meat moist: prep, optional sear, sauce first, gentle heat, then rest before slicing.
Quick prep that keeps the meat juicy
Pat pieces dry, season with salt, pepper, and a teaspoon of garlic powder. Keep similar sizes so heat hits evenly.
Optional sear for flavor and color
For a golden finish, sear each piece in a hot skillet 60–90 seconds per side. Stop once browned — not cooked through.
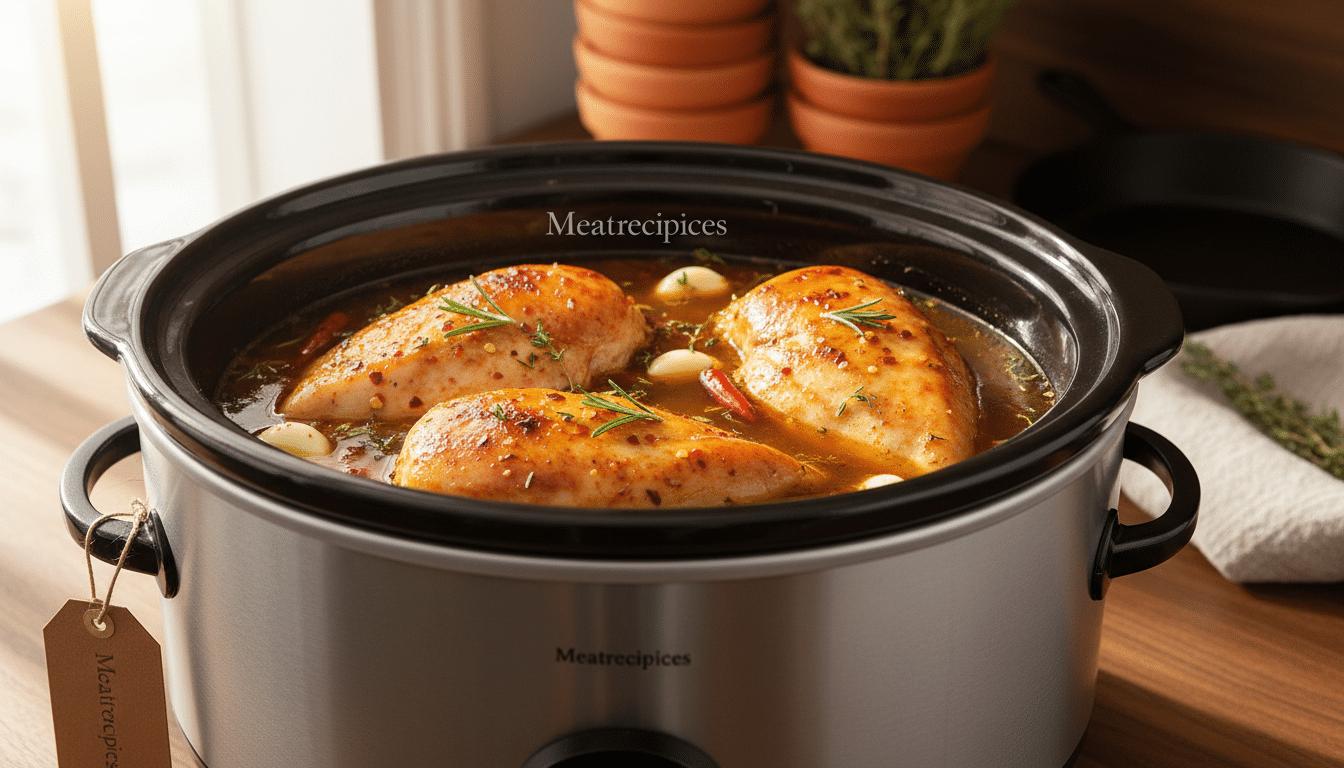
Layering in the cooker: broth or sauce first
Pour chicken broth or the tomato base into the pot, then add the pieces so they sit in moisture. This prevents sticking and adds flavor.
Exact cook times and temps
Cook on LOW for 2–4 hours for best texture. On HIGH expect 1–2 hours. Pull meat when the thickest part reaches 165°F.
How to check doneness
Insert a probe into the center, avoiding contact with the pot wall. Remove immediately once it reads 165°F.
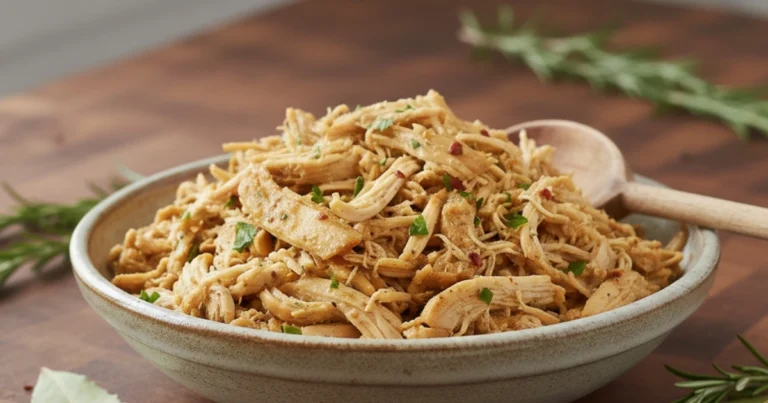
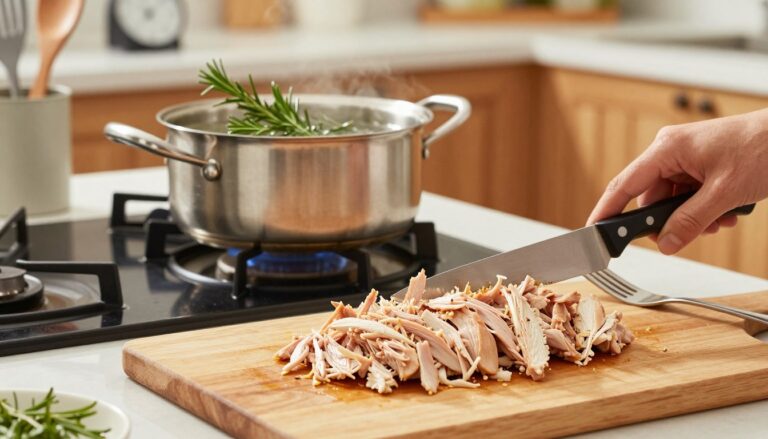
Resting and slicing
Let meat rest 5–10 minutes on a board. Slice across the grain for tenderness, or shred for meal prep. Spoon finished tomato-cream sauce over pasta or mashed potatoes for serving.
| Step | Action | Timing / Tip |
|---|---|---|
| Prep | Pat dry, season evenly | Use similar pieces; 1 teaspoon garlic powder |
| Sear (optional) | Brown quickly in a skillet | 60–90 seconds per side; don’t cook through |
| Cook | Sauce or broth first, then meat | LOW 2–4 hours; HIGH 1–2 hours; target 165°F |
| Finish | Rest then slice across grain | Rest 5–10 minutes; serve with pasta or potatoes |
Exact cook times, LOW vs HIGH, and what changes the timing
Knowing exact ranges for LOW and HIGH helps you stop guessing and start checking temps instead.
LOW setting (best for tenderness): plan about 3–4 hours for average boneless chicken breasts. Very large pieces may need longer, but always pull at 165°F in the thickest part. If your unit runs hot or pieces are small, check earlier.
HIGH setting (when you’re in a hurry): most non-creamy recipes finish in 1–2 hours on HIGH. The faster window means the gap between done and dry is smaller, so use a thermometer and watch closely.
What changes the time: size of each piece, starting temperature (cold vs room temp), amount of sauce or broth, and whether your appliance tends to run hot or even boil.
- Don’t lift the lid — every lift dumps heat and adds minutes to the overall time.
- If you see steady bubbling, your crockpot may be running hot; check sooner and add dairy near the end.
- Write down the exact hours that worked for your cooker chicken setup so you nail it next time.

| Setting | Typical range | Tip |
|---|---|---|
| LOW | 3–4 hours | Best for tenderness; check early if small pieces |
| LOW for very large pieces | 4–5 hours | Cook to 165°F, not just clock time |
| HIGH | 1–2 hours | Works fast; monitor to avoid drying |
Pro tips to prevent dry chicken breast (plus common mistakes to avoid)
Follow a few quick fixes while it cooks to keep meat juicy and the final dish flavorful.

Use enough liquid
A thin layer of broth or sauce in the bottom creates gentle steam and shields lean meat from drying. Pour a half to one cup of broth or a tomato/cream base before adding pieces.
Cook to temp, not to comfort
Pull at 165°F. Waiting longer makes the texture worse, not safer. Check with a thermometer and stop once the thickest part hits the target.
Cream sauce timing
If your slow cooker tends to bubble, add heavy cream in the last 25–30 minutes. This reduces curdling. To thicken safely, whisk one tablespoon cornstarch with a quarter cup cold broth before stirring it in.
Common mistakes
- Overcooking by clock alone.
- Too little liquid in the pot.
- Constantly lifting the lid; each lift adds minutes.
- Crowding pieces so heat doesn’t circulate.
- Slicing or shredding without a 5–10 minute rest.
Mid-cook troubleshooting
If the sauce is thin, thicken at the end with a cornstarch slurry. If the meat reaches 165°F early, switch to warm and keep it covered for up to 20 minutes.
| Problem | Quick fix | When to use |
|---|---|---|
| Dry texture | Stop cooking; rest 5–10 minutes | At 165°F |
| Thin sauce | Whisk 1 Tbsp cornstarch + 1/4 cup broth, stir in | Final 10 minutes |
| Cream curdling | Add heavy cream in last 25–30 minutes | If cooker runs hot |
Quick questions you might ask—covered in the FAQ: Can I skip searing? Can I use high heat? Why is my sauce separating? How to keep it tender for meal prep?
Flavor variations you can rotate all month
A single base method lets you rotate bold flavors for lunches and dinners all month long.
Creamy Tuscan-style “marry me”
Combine 1 cup tomato sauce, 2 cloves minced garlic, 1 teaspoon Italian seasoning, a pinch of sugar, sun-dried tomatoes, and a splash of broth. Cook until the center reaches 165°F.
Finish by whisking 1 tablespoon cornstarch into 1/4 cup cold water, stir into the pot with 1/3 cup heavy cream and 2 tablespoons grated Parmesan. Add spinach until just wilted.
Why it works: The tomato-cream sauce holds moisture and gives a restaurant-style finish with little effort.
Serve over pasta or mashed potatoes with a simple side salad.
Garlic herb
Season with 2 teaspoons Italian seasoning, 2 cloves garlic, salt, pepper, plus 1/2 cup broth. Finish with lemon and a sprinkle of Parmesan.
Use this for light dinners, salads, or sliced atop roasted potatoes.
Smoky paprika
Rub with 1 teaspoon smoked paprika, 1 teaspoon garlic powder, salt, pepper, and 1/2 cup broth. Shred, toss in juices, then use for bowls or tacos.
Simple shredded prep
Cook in plain broth with a teaspoon salt. Shred while warm, portion for meal prep, then use across salads, soup, wraps, or quick pasta dishes all week.
| Variation | Key flavor | Best use |
|---|---|---|
| Tuscan | Tomato + cream | Pasta, potatoes |
| Garlic herb | Italian seasoning | Salads, roasted potatoes |
| Smoky paprika | Paprika | Bowls, tacos |
Pick your vibe: Keep the method, swap the sauce or rub, and you get fresh recipes every week with minimal prep.
Conclusion
A precise temperature read, not extra hours, is the trick to tender results every time. Pull the meat at 165°F and let it rest before slicing.
Storage: Cool leftovers, seal in an airtight container, label with the date, and refrigerate up to 3 days. For longer life, freeze portions with a little sauce for up to 3 months; thaw overnight in the fridge.
Reheat: Warm gently on the stovetop or in short microwave bursts, stirring every few minutes. Add a splash of broth if the sauce looks thick. For cream-based sauces, reheat low and slow to reduce separation.
Meal-prep tip: Portion shredded meat into containers for soup, salads, wraps, or grain bowls and save extra sauce in a small bowl to keep portions moist.
FAQ:
Q: Can I cook on HIGH? A: Yes, but watch closely and use a thermometer.
Q: Can I use frozen meat? A: Thaw first for even cooking.
Q: How to know it’s done without cutting? A: Check 165°F with a probe.
Q: Why dry? A: Overcooking or too little liquid.
Q: When add heavy cream? A: In the last 25–30 minutes.